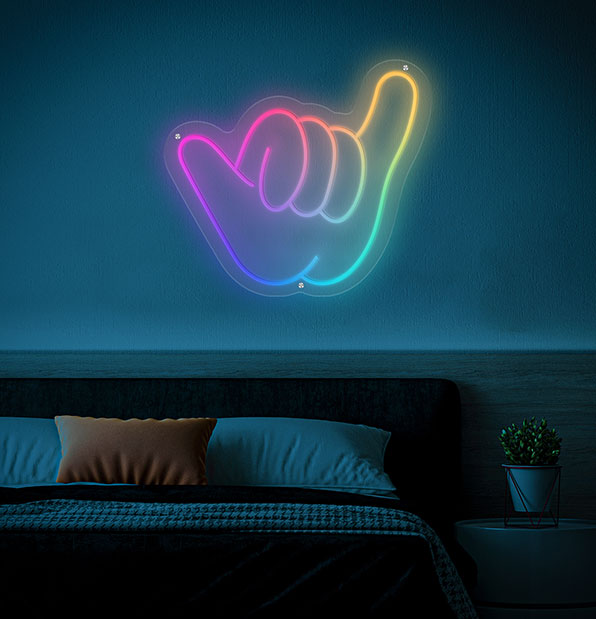
Most people know the Shakalaka sign and use it in daily life. But rarely do you come across people who are history. According to locals of Hawaii, when Hamana Kalili of Laie lost his three fingers while working in a sugar mill, he shifted to guarding the sugar train. Whenever he wanted to sign "all clear," he used to spread out his thumb and little pinkie. It's also used as a sign of salutation in Hawaiian culture.
Best Places to Install Shakalaka Flow-Mo Sign
- Children's room
if your child is fascinated by the cheers' hand sign, this sign will surely complement his interest. - Beach restaurant
Give your beach restaurant Hawaiian vibes with shakalaka flo-mo signs.
Get your beautiful Shakalaka Flow-Mo Sign for your kid’s bedroom that are made using environment-friendly LEDs. Meaning they save energy and money as they consume exceptionally low power.
- Varied Sizes
Comes in three different sizes: small, medium, and large. - Vibrant colors
Pick your favorite color option and customize uniquely. - Varied Styles
Want something out of the box? Well try our LED Neon Signs in varied styles and pick the one you like.
When you buy LED Shakalaka Flow-Mo Sign Lights from NeonChamp, you can expect your order to arrive promptly anywhere in the CANADA. Whether you choose the rush or standard shipping option, we do our best to get your Neon Signs to you as soon as possible!
To safeguard your delivery, we offer a non-confusing clear refund policy. In addition, you can reach out to us for a full refund if the neon lights are faulty or damaged during transit.
Shipping DetailsUnboxing Your Neon Sign Kit
We know you are excited to receive your custom Shakalaka Flow-Mo Sign, which we pack with loads of love. But what’s inside should not be a mystery to you, that is why we uncover all the details.
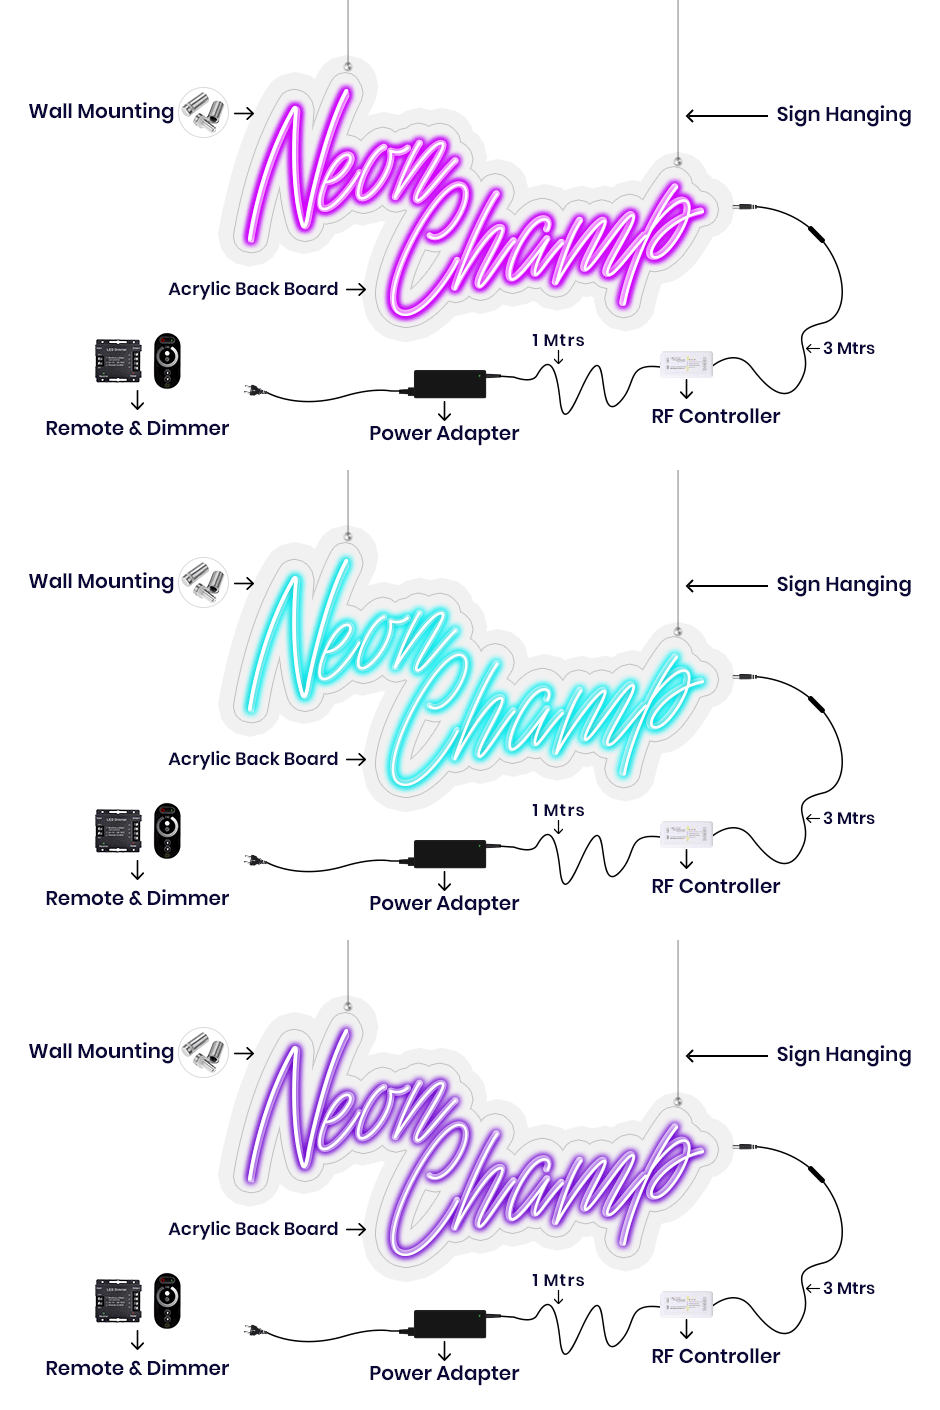
All the Neon signs that we send are well-equipped with clear acrylic boards having pre-drilled holes and SS mounting screws which makes hanging easy. Also, the neon signs are clubbed with a power cord which you can attach to power adapter. Also, you get an option to adjust the brightness of your custom-made neon sign via a remote controller.

Glow Your Neon Sign in Style with NeonChamp
First begin by plugging in the power adapter
Insert the power adapter safely to ensure that the neon light get started as you want
Next, connect the power adapter output to RF Controller
Now that the power adapter is safely inserted it's time to connect the power adapter to RF controller
Now connect RF Controller output to the Neon Connector
Next, connect the RF controller to the neon connector which is a very simple process and won't take much time
Adjust Brightness with remote controller and done.
Set the brightness using a remote controller according to your décor or mood and get it started.
Why NeonChamp
Energy & Cost Efficient
Free Delivery
3 Years Warranty
Easy Returns


